Sketching Course (sample page)
Marker skills 2D development
More complex 2D shapes – marker rendering
Tone has been added through the use of light coloured marker pens alongside either Cool Grey 3 or 4 for the ‘metal’ parts. The application of a soft black pencil to darken edges and add further depth and shadow is recommended. There is a video at the bottom of the page that demonstrates how to apply marker pen to the shapes.
2D hand whisks – marker rendered
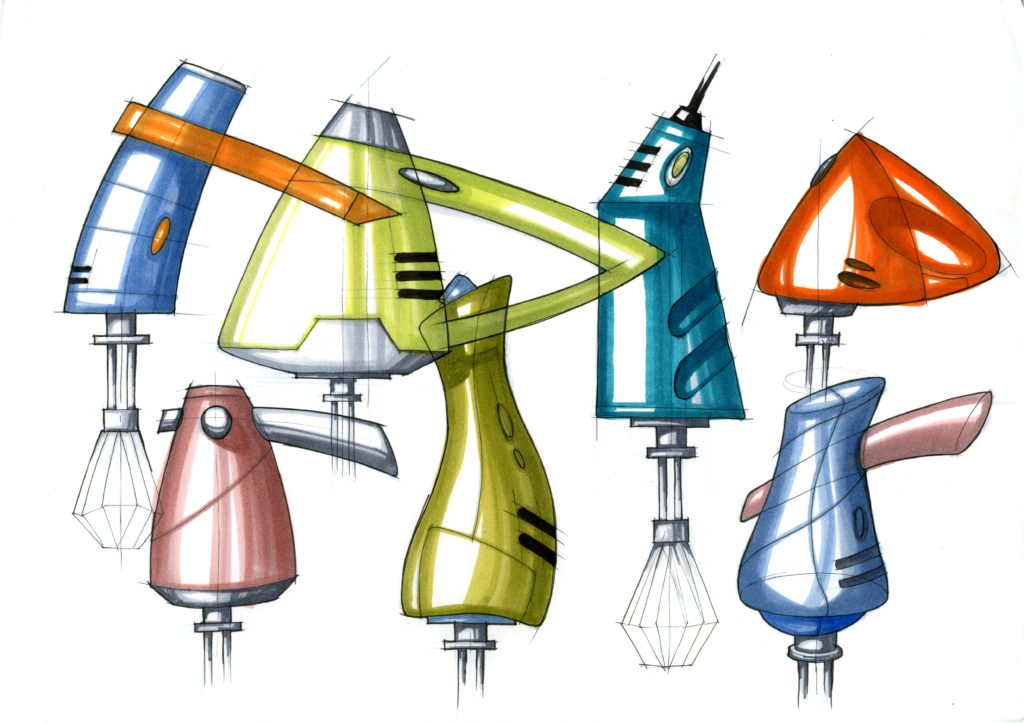
Download Marker Rendered Handheld Whisks Colour
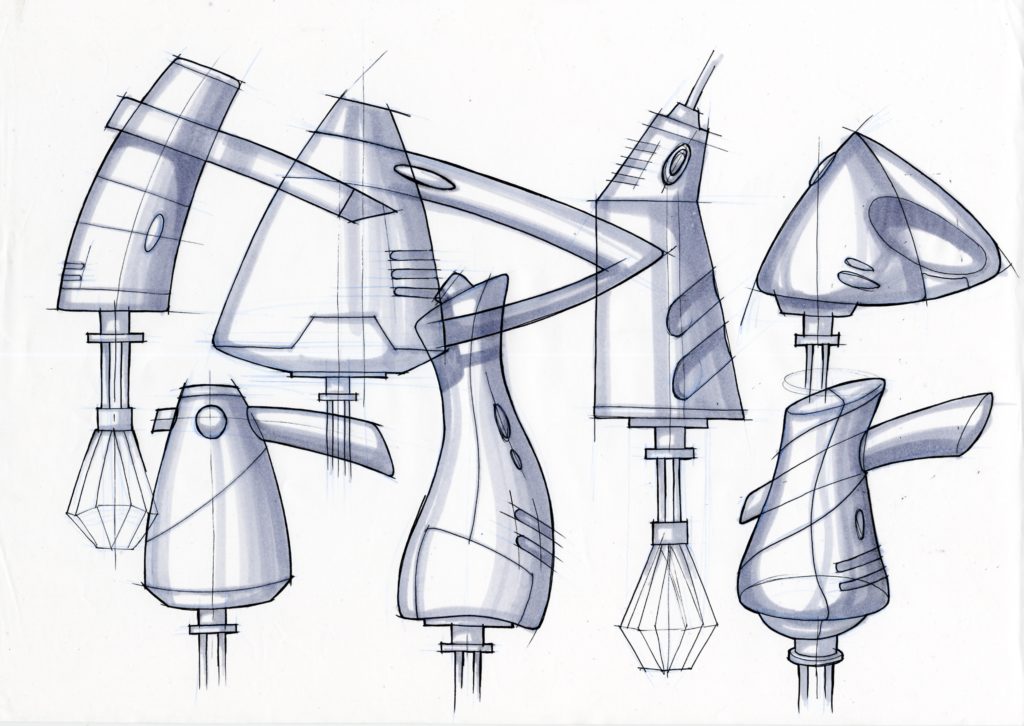
In the example above the marker rendered sketches are for some concept / quick ideas for handheld whisks. This sheet can be downloaded and used as a reference guide. Note that no black pencil was used on this version!
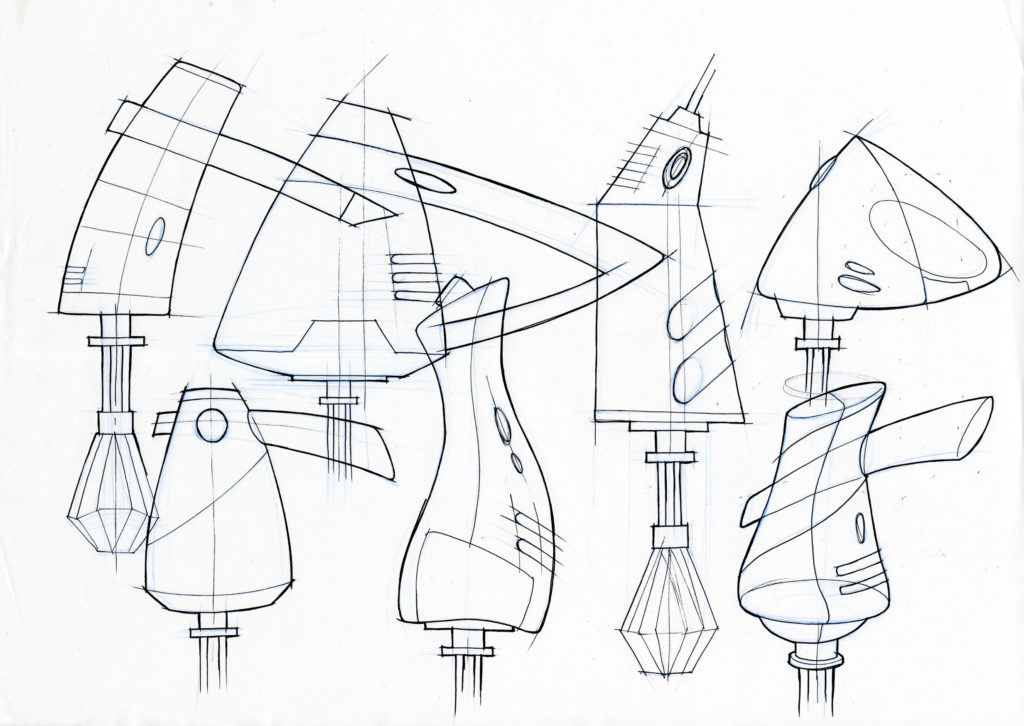
Sketching out the basic shapes in blue pencil
Once the 2D shapes (ideas) have been lightly sketched in blue pencil then you are ready to add a fine line pen to clarify the line – use Thick & Thin lines. This creates an underlay of a suitable sheet to photocopy onto marker paper. We usually get students to quickly trace the sheet onto marker paper using a blue pencil, trying to keep the overall feel very ‘sketchy’. This is because we are trying to build confidence with markers rather than judge the students upon their own designs, so tracing the shapes is fine. Then the students fine line their sheet. Click on the button below to download this sheet.
Adding Marker to the 2D fine lined shapes
Start adding tone using a marker pen. We find it better to use lighter colour marker pens. The simple rule to follow is “all edges are always dark”. If you imagine that there is a light source at the top left of the page then the right hand side of the shapes should be darker, or greater marker width added, as well as the bottom edge of the shape – this helps it to ‘sit’ on the page. Below is a video that demonstrates all of this process.
The greyscale version below demonstrates how the marker pen can be added to show tone.
AR Support
You can use the AR model below to gain an idea of what the product should ‘conceptually’ look like in 3D. If you use a phone / iPad camera and scan the QR code this can open up a 3D CAD model (powered by ARbase), so you can get an idea of how and where to add shadows and highlights.